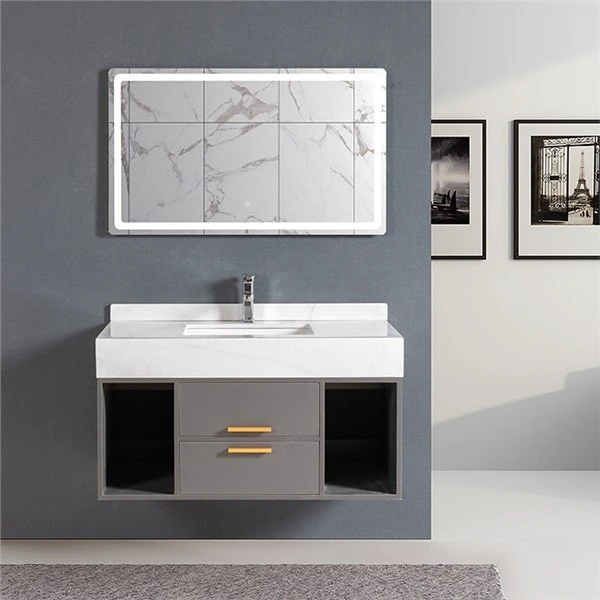

Replacing a bathroom vanity is a common home improvement project that can enhance the aesthetics and functionality of your bathroom. Whether you're looking to update the style or address functional issues, this comprehensive guide will walk you through the step-by-step process of removing and replacing a bathroom vanity. The duration of the project can vary based on factors such as your experience level, the complexity of the installation, and any unforeseen issues that may arise.
Materials and Tools:
Before embarking on the project, gather all the necessary materials and tools. This ensures a smoother process and minimizes interruptions. Here's a basic list to get you started:
Materials:
New bathroom vanity
Faucet
Sink
Vanity top
Plumbing supplies (pipes, connectors, and plumber's tape)
Shutoff valves
Tools:
Screwdriver
Adjustable wrench
Pipe wrench
Plumber's putty
Bucket
Putty knife
Pipe cutter
Tape measure
Level
Caulk gun
Step 1: Preparation:
Start by turning off the water supply to the sink. Locate the shutoff valves under the sink and turn them clockwise until they are fully closed. Once the water is turned off, open the faucet to release any remaining water in the lines. Place a bucket under the sink to catch any drips.
Step 2: Disconnecting Plumbing:
Use an adjustable wrench to disconnect the supply lines and the P-trap. Place a bucket under the P-trap to catch any water that may spill. Remove the old faucet by loosening the nuts underneath.
Step 3: Removing the Old Vanity:
Locate and remove any screws or nails securing the old vanity to the wall. If there is caulk sealing the vanity to the wall, carefully cut through it with a utility knife. With the help of a partner, lift and remove the old vanity.
Step 4: Preparing the Space:
Inspect the wall for any damage and make any necessary repairs. Measure the existing plumbing connections to ensure they match the new vanity's dimensions. If adjustments are needed, make them before proceeding.
Step 5: Installing the New Vanity:
Place the new vanity in position, ensuring it is level. Secure it to the wall using screws or nails. Connect the plumbing by attaching the faucet, sink, and P-trap. Apply plumber's putty to the sink's edges before setting it in place.
Step 6: Connecting Plumbing:
Reconnect the supply lines and the P-trap. Use plumber's tape to secure the connections and prevent leaks. Turn on the water supply and check for any leaks. If everything is secure, proceed to the next step.
Step 7: Finishing Touches:
Apply a bead of caulk along the edges of the vanity top where it meets the wall to create a watertight seal. Wipe away any excess caulk with a damp cloth for a clean finish. Install the new faucet according to the manufacturer's instructions.